How to Choose the Best Sight for Your Bow
Posted 2025-08-04 by
Do you need a single-pin slider, or will a fixed 3-pin work? What about pin size and peep diameter? Here’s what you need to know to set your bow up properly
There is a sea of bow sights on the market, and choosing one that fits you and your bowhunting style can be a big decision. Photo by Wasp Archery/John Hafner.
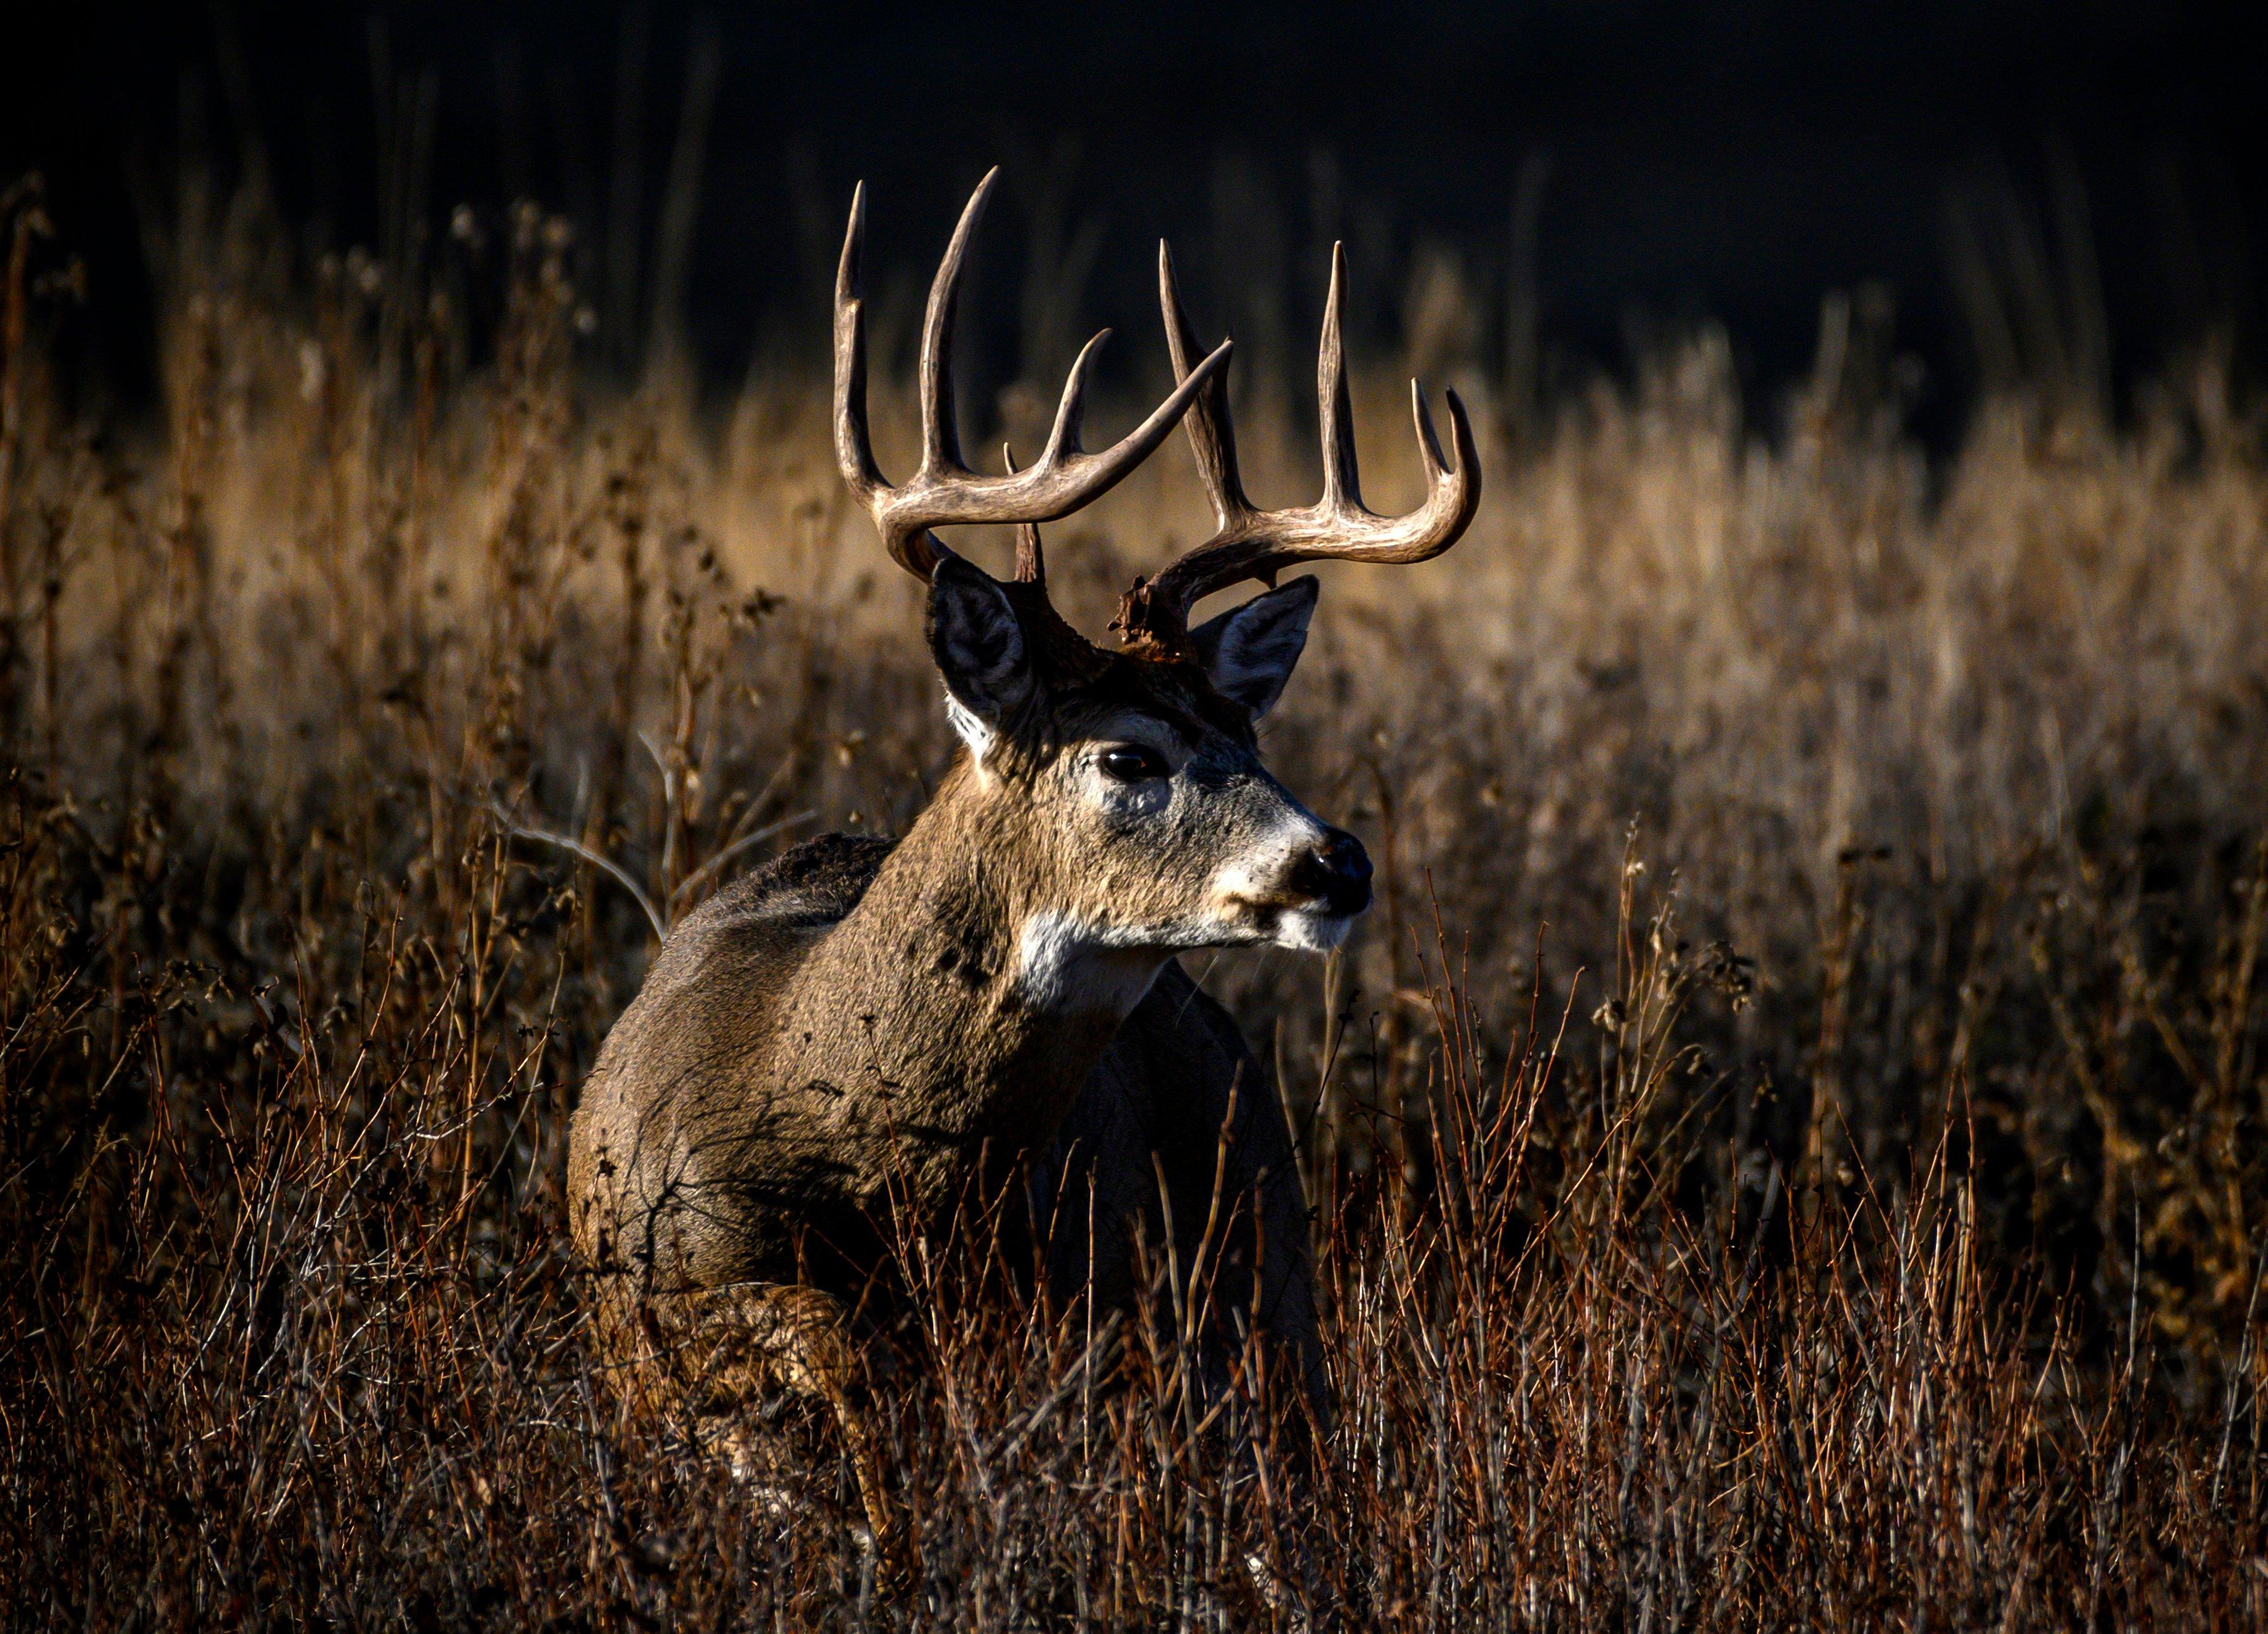
I was stuck on a wide-open hillside, waiting for a big prairie buck to make his next move. Unaware of me, he fed along a ravine and went behind a hill. I quickly cut the distance and got situated ahead of the deer, above the ravine. Minutes passed. Nothing happened. Impatient, I moved in his direction, and spotted antler tips!
The buck had found a patch of something tasty and stalled to browse. As I analyzed my next move, I realized that he was within my effective range. He fed and periodically raised his head to assess his surroundings. When he lowered his head, I rose and ranged him at 55 yards.
I crouched back down and turned my attention to my bow sight, adjusting the multi-pin slider housing to 55 yards. Then, I stood and drew. The buck was slightly quartering away, and when the intermittent crosswind subsided, I launched my arrow. It zipped through his vitals, and he toppled over 20 seconds later. My confidence in taking the longer-than-average shot was largely a product of familiarity with my slider sight.
There are a staggering number of bow sights on the market today, and for some consumers, the variety makes shopping for a bow sight a daunting task. I’ve been shooting archery for 30 years, spent 10 years in archery retail, and have tested and reviewed archery equipment for at least 12 years; talking bow sights is like second nature to me.
To that end, let’s run through the ins and outs of the different bow sights so that you can make an educated purchase.
Don’t Miss: The Best Days to Hunt Deer in 2025
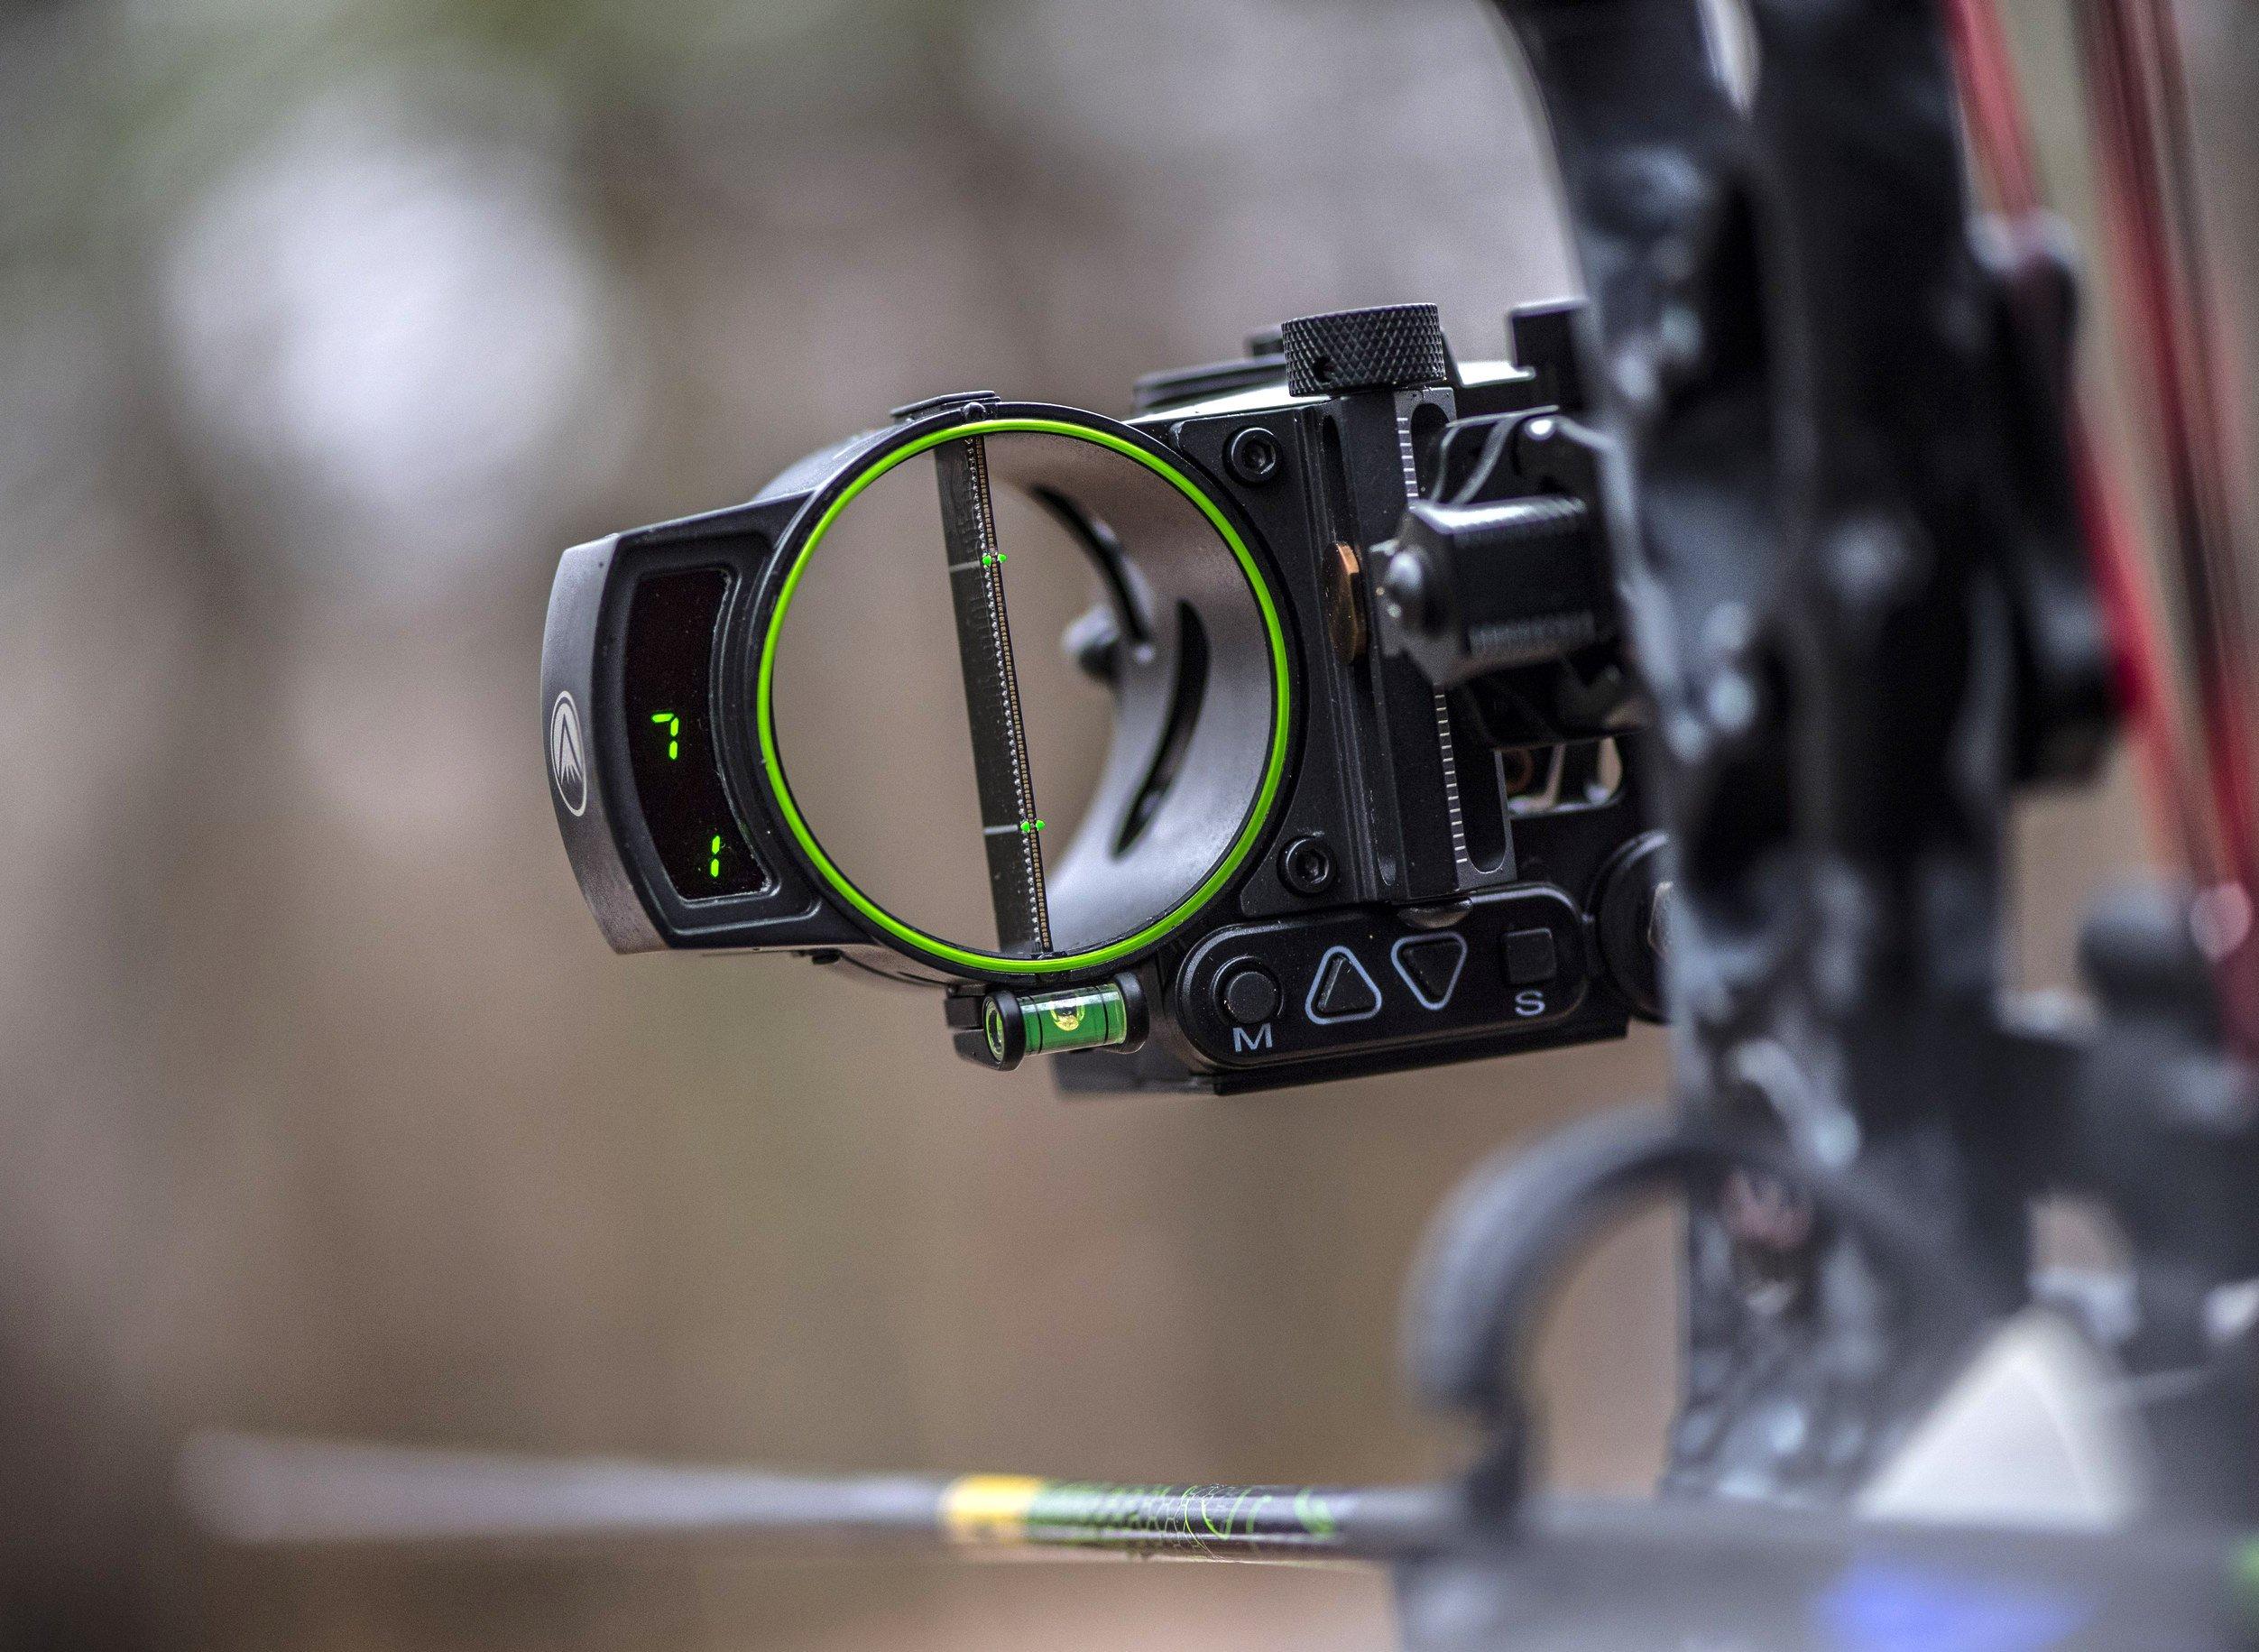
SINGLE-PIN SLIDER
A single-pin sight is one of the most common sight styles. Most have a small scope housing with one vertical pin. While I’ve seen some single-pin fixed sights, most have a slide feature, allowing you to adjust for different yardages.
This sight style has two big advantages. The first is precision accuracy — there will be no holding a pin high or low. Simply slide the sight until the yardage pointer/indicator aligns with the yardage to your target, and then aim dead on. The next attribute is an uncluttered sight picture. If you find it confusing to choose a specific pin when looking at multiple pins, a single-pin sight will reduce that confusion and the related stress. Similarly, the single pin obstructs less of the animal, allowing you to aim more carefully and see more detail on the animal.
There are a couple of downsides, too. First, if you range an animal that is farther or closer than what the sight is set to, you’ll have to reach forward and adjust the sight to the correct yardage. This requires some movement and time, and you might alert the animal or lose the shot opportunity. Second, sometimes an animal turns to a poor angle and then walks closer or farther away, potentially leaving you stuck at full draw with your sight set to the incorrect yardage. You’ll have to let down, re-range the animal, re-adjust the sight, and then draw back again.
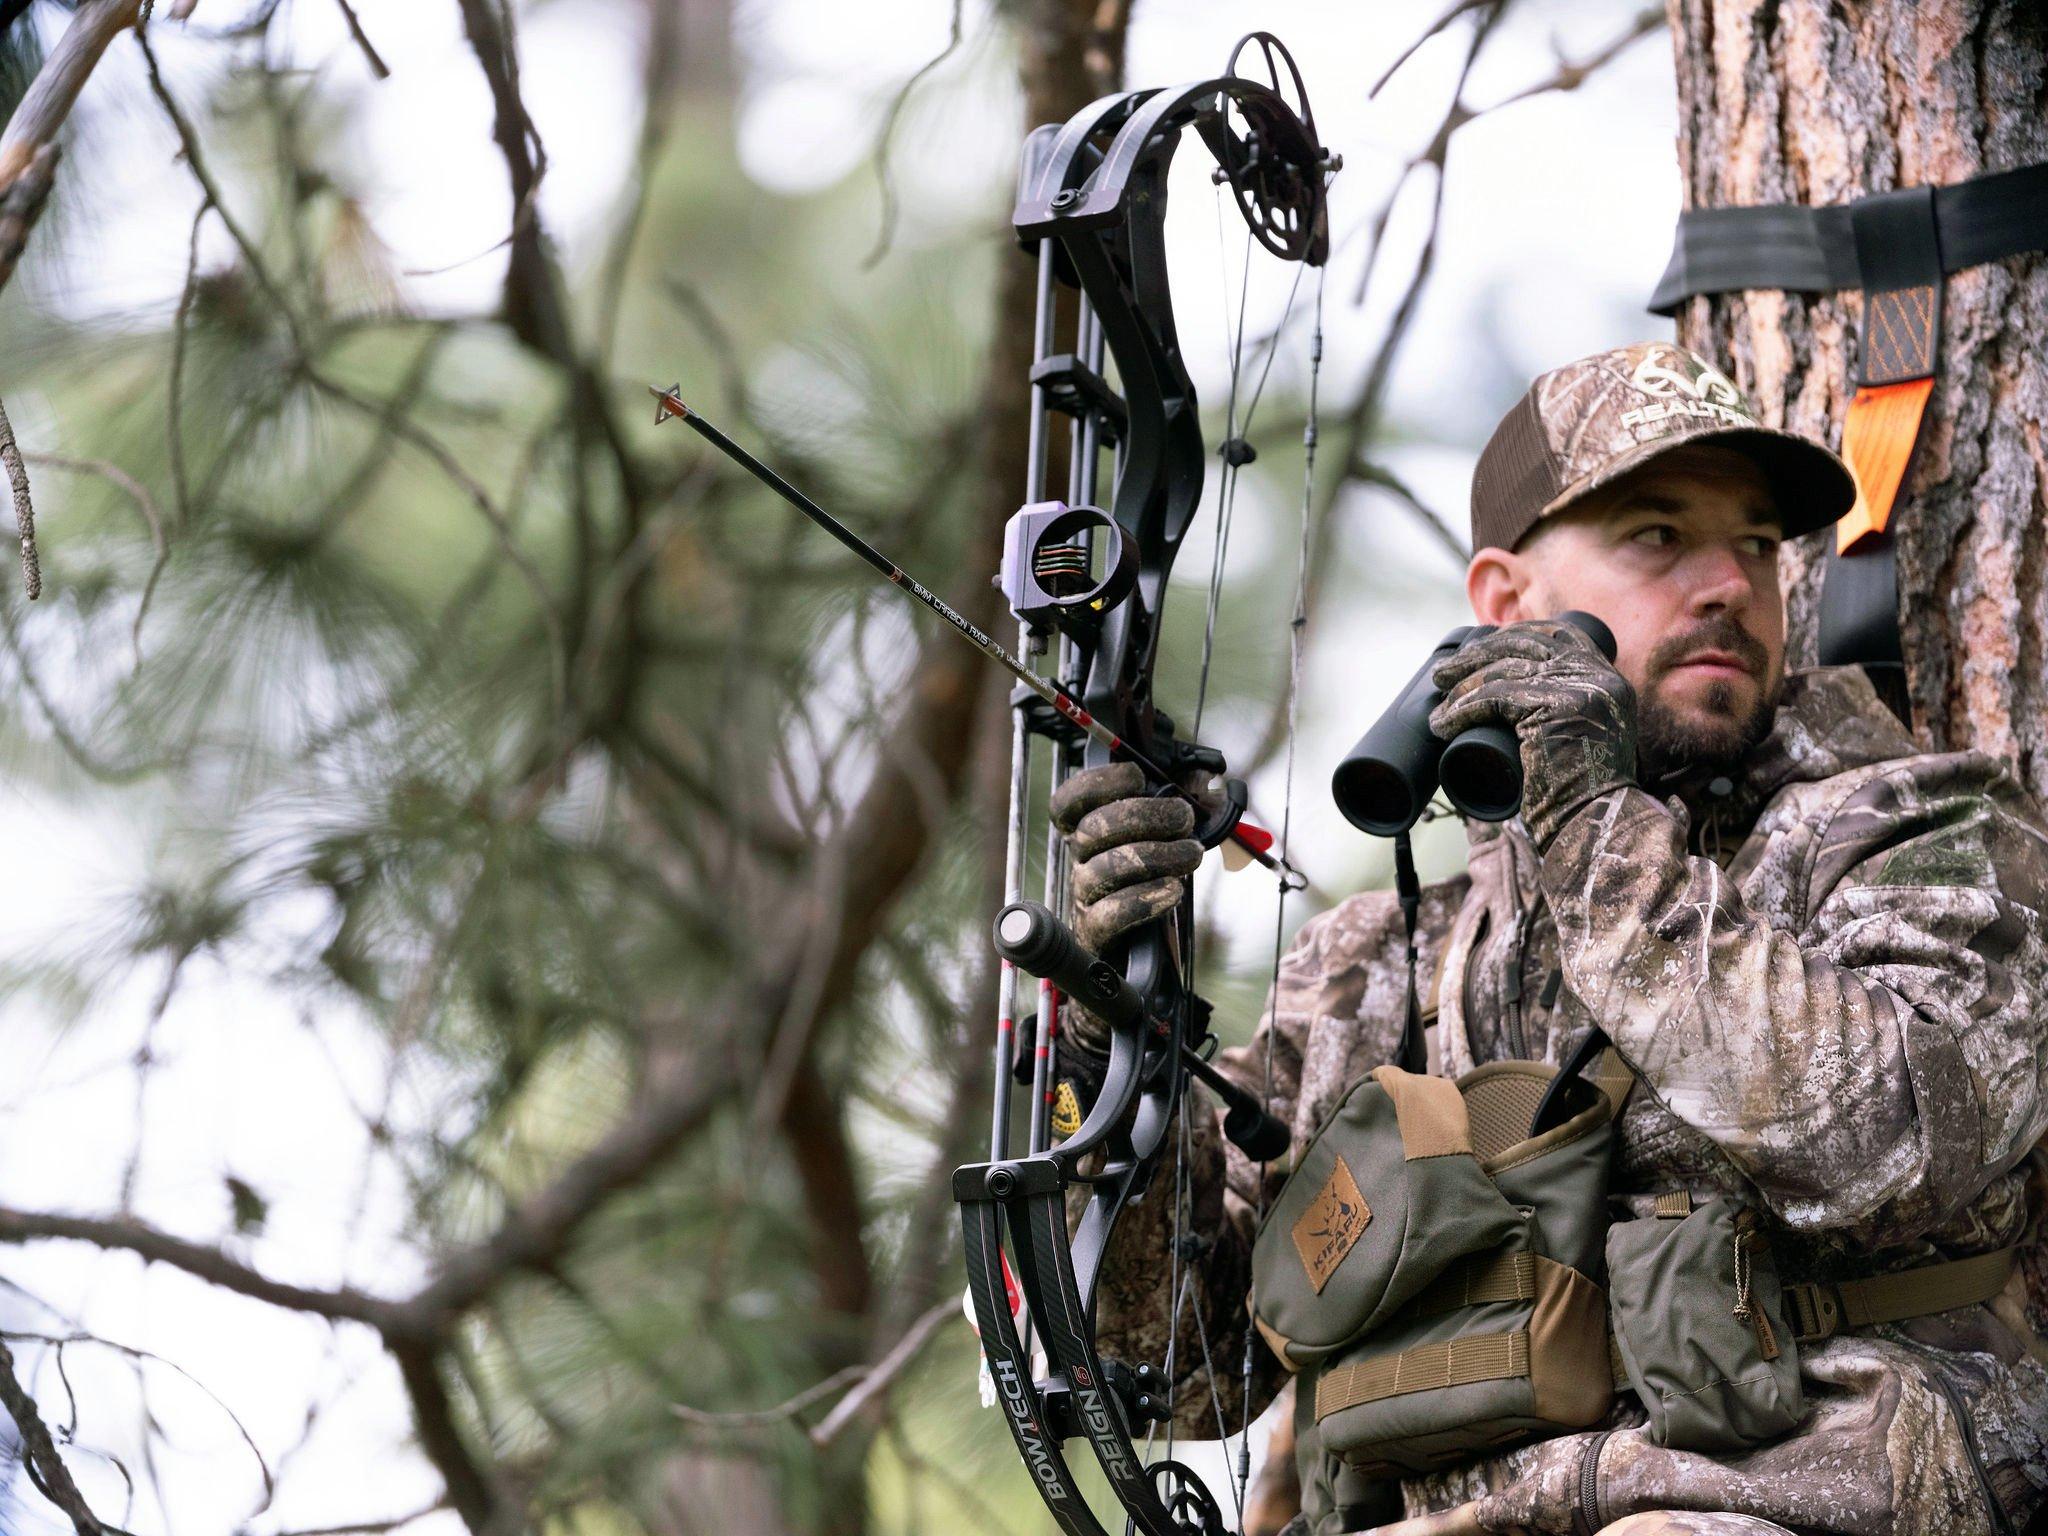
Slider sights, whether configured with one or multiple pins, can greatly enhance your accuracy by allowing you to dial to your target’s exact yardage. Photo by Darron McDougal.
All things considered, a single-pin sight is ideal for beginners, archers with blurry vision, or those who experience panic when looking at multiple pins. It’s also a great option when stalking game out West, where most encounters offer you ample time to range the animal and adjust your sight. Shots out West also tend to be longer, and dialing to the exact yardage greatly reduces accuracy discrepancies.
Don’t Miss: 4 Ways to Shake Up Deer Season This Year
FIXED-PIN
If you want the option to shoot out to 40, 50, or 60 yards but don’t want the extra step of sliding a single pin to the correct yardage, a fixed multi-pin sight is a great solution. Most hunters set their pins in 10-yard increments. In other words, a three-pin sight has pins for 20, 30, and 40 yards. I always suggest having two extra pins beyond your maximum effective hunting range so that you can practice at longer distances, plus have the option to shoot a follow-up shot at a longer distance if your first shot is marginal.
While some bowhunters find it confusing to select the correct pin in a bowhunting situation, a fixed-pin sight allows you to address a shot opportunity faster than with a slider sight. Photo by Bill Konway.
The benefit of a fixed-pin sight is that you can range the animal, draw back, and shoot without adjusting, so it reduces time and movement. The downside is that multiple fixed pins require some decision-making at full draw. Not only do you have to choose the correct pin for the yardage, but you’ll have to decide whether to hold one pin high, another low, or stare between two pins when shooting at odd yardages. This sight style is ideal for hunting scenarios with fast action and for bowhunters who can think clearly when under pressure.
Don’t Miss: 5 Hunting Shots Bowhunters Need to Practice Right Now
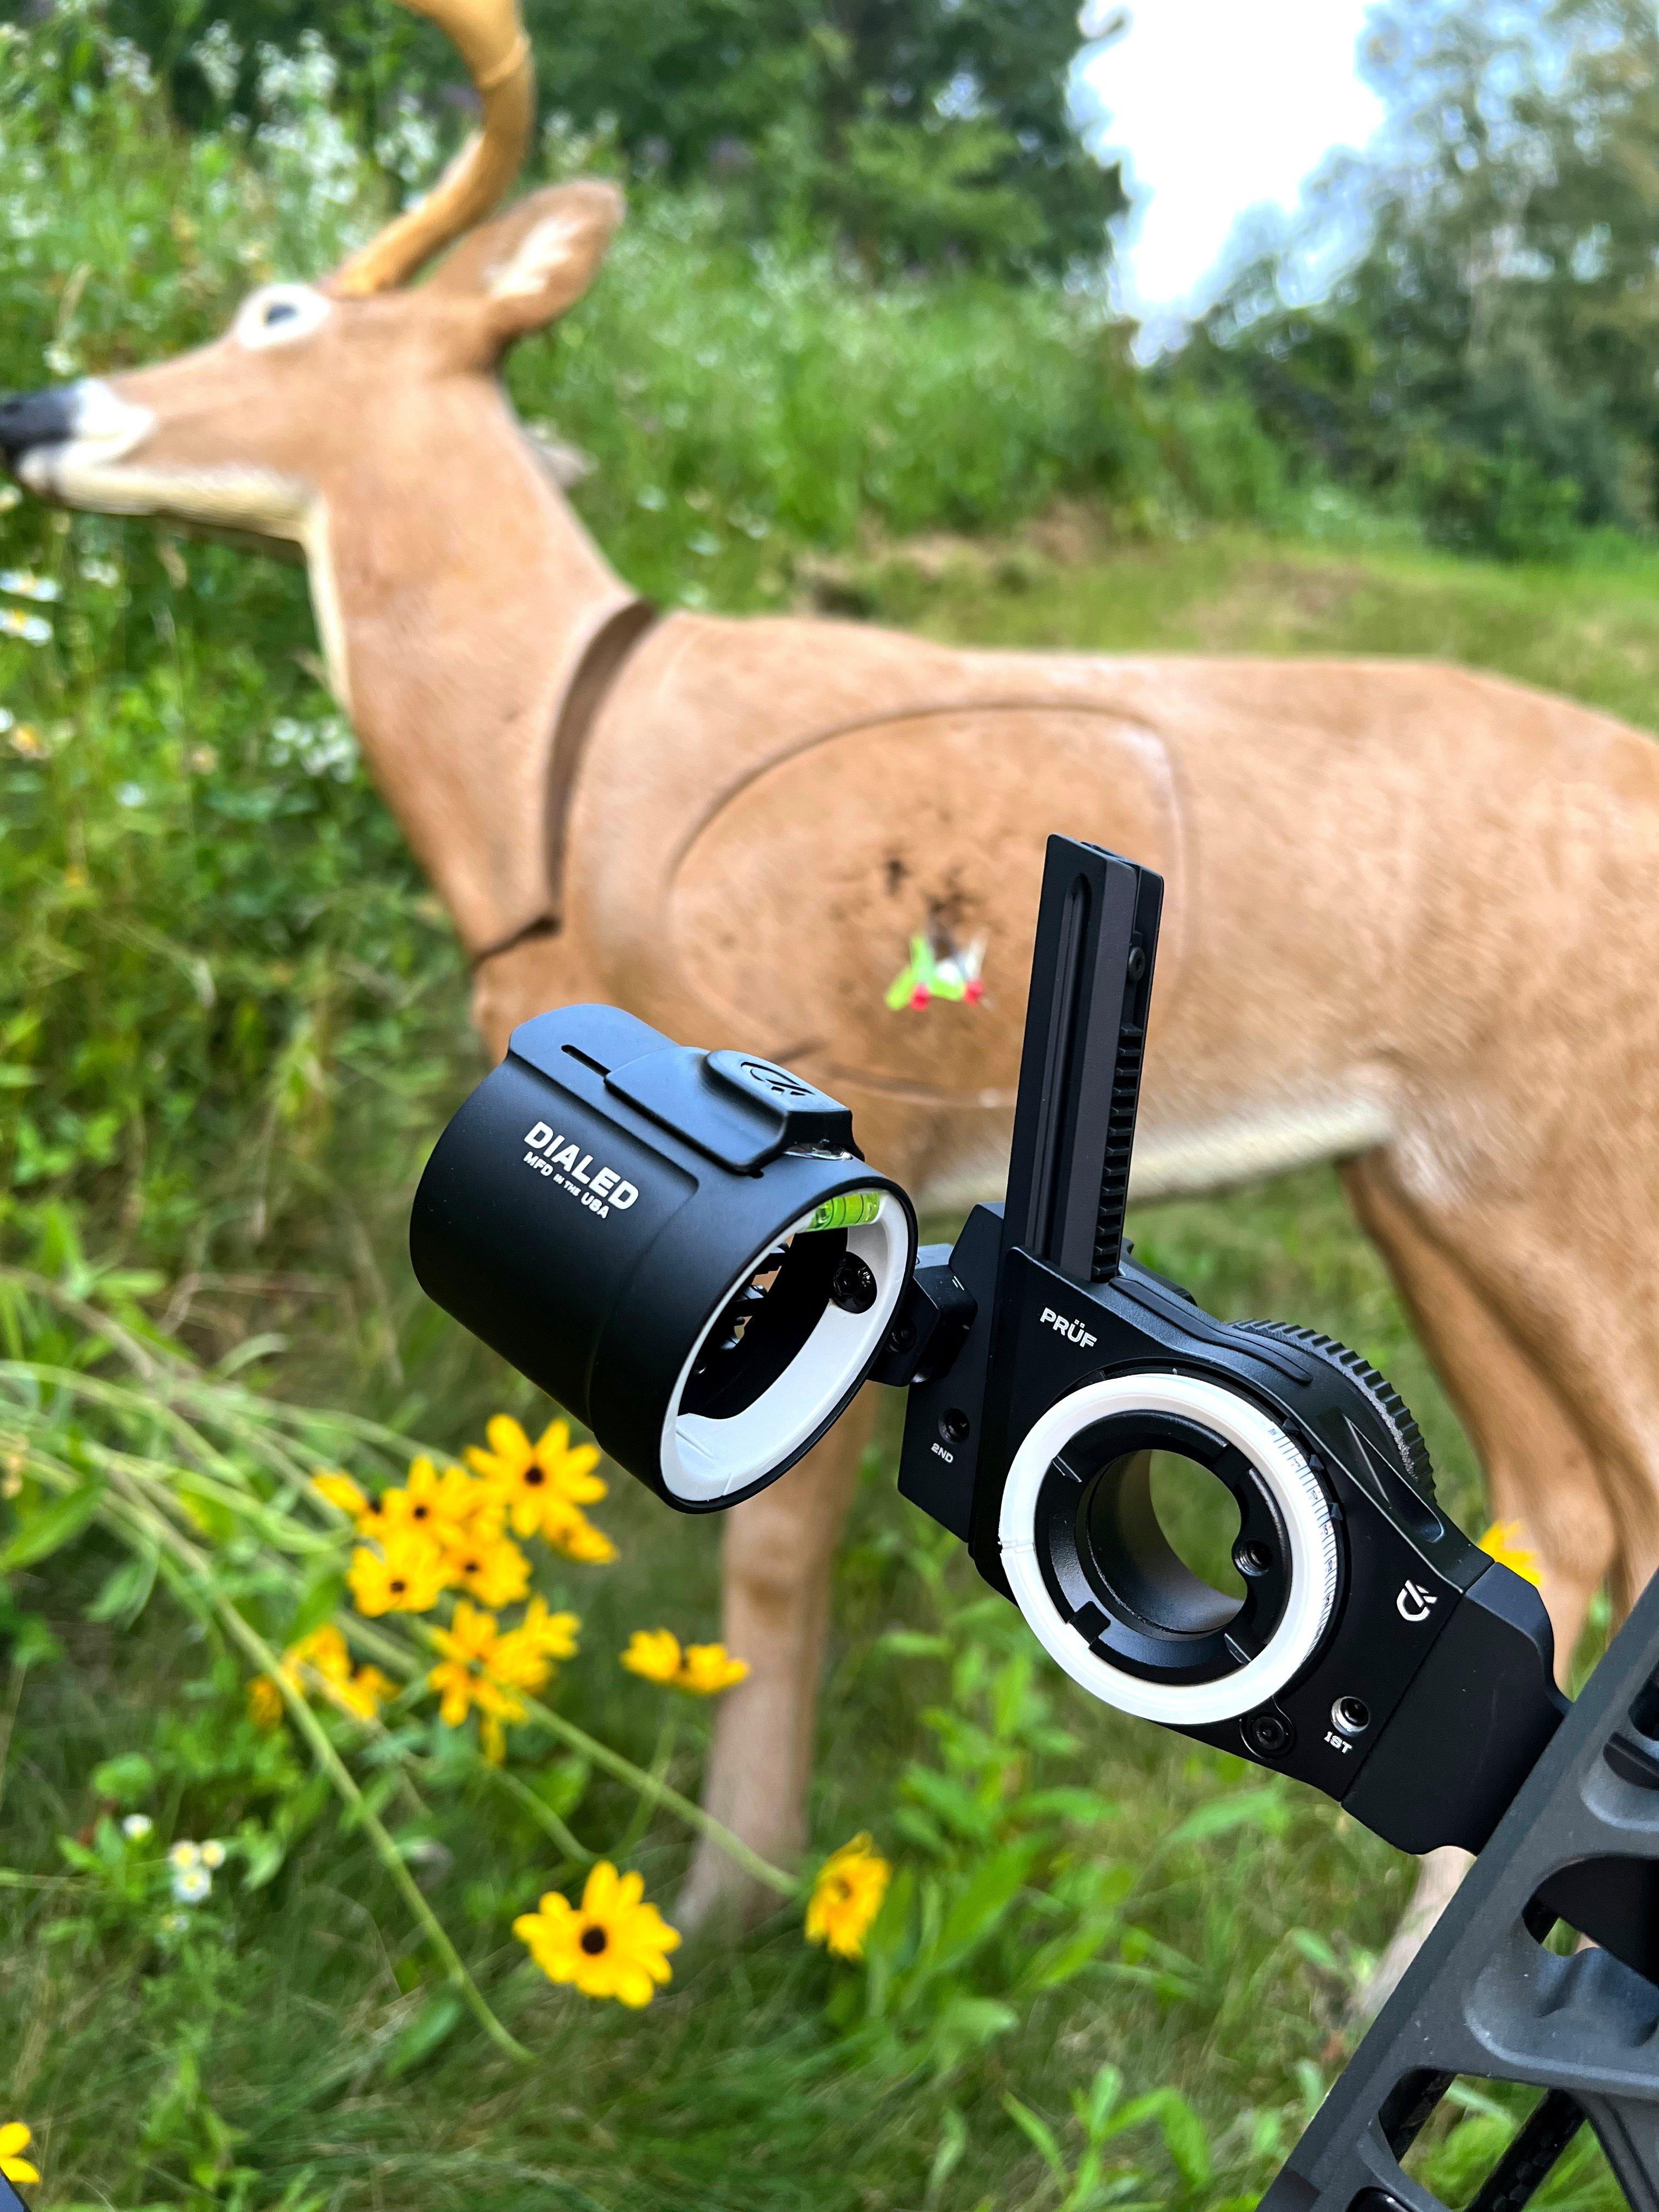
MULTI-PIN SLIDER
The previous two worlds collide right here. You get the to-the-yard adjustability of a single-pin sight but with the convenience of fixed pins that allow you to address shorter shots without the movement and time of adjusting the slide.
This is my sight choice because it checks the important boxes for my hunting style. I hunt a lot of whitetails, but I also hunt out West. In whitetail country, where I anticipate short shots, the fixed pins work great for fast action during the rut. But, during a stalk, I can dial to the exact shot yardage, which eliminates the aiming guesswork and yields a more accurate shot at longer distances.
Further, I like to practice at double the distance (or longer) of my maximum bowhunting range. This boosts my confidence for shorter hunting shots, but it also gives me the option to shoot extremely far when a follow-up shot is required. Once, I shot a facing gobbler at 10 yards. My arrow hit the base of his neck perfectly, but skidded along his side rather than penetrating the body cavity. The wounded gobbler stopped 78 yards away. Immediately, I dialed my sight to 78 yards and made a shot that anchored the bird right there.
Another time, a mule deer buck ducked my arrow on a 33-yard shot, producing a hit above his spine. The buck ran 700 yards before stopping. The hit didn’t appear lethal, but the buck was definitely feeling it, and it was my ethical responsibility to finish what I started. With darkness two hours out, I stalked the buck again and shot him from 114 yards. Having a sight that dialed to such long range allowed me to tag a buck that otherwise might have been lost.
Multi-pin sliders are also great for 3-D shoots with long-range targets, particularly TAC (Total Archery Challenge). When you encounter an extremely long shot, such as a mule deer target at 100 yards, dialing your sight to that yardage is more consistently accurate than aiming a 60-yard pin at the moon.
If a multi-pin slider sight has a downside, it’s that most are a little complicated. I’d suggest either a single-pin slider or a three-pin fixed sight for beginning archers, as well as those who keep their shot distances under 40 yards. These multi-pin sliders should be reserved for those who are looking to boost their long-range accuracy and have the option to practice at long range.
E-SIGHTS
Brands like Garmin and Burris sell electronic, range-finding bow sights, and Trophy Ridge has a slider sight that uses a digital yardage bar rather than a traditional sight tape. Check the regulations for the state(s) you’ll be hunting, as electronic sights are illegal in some states.
A range-finding bow sight lets you draw back before ranging the animal, and then, after ranging the animal, the aiming dot that appears in the optic will be for the exact distance to the animal. This is particularly advantageous in scenarios where the action unfolds fast, such as stalking wild hogs or sitting a runway for rutting whitetails.
Electronic bow sights, especially models with integrated rangefinders, are advantageous. But check the regulations because they aren’t legal in some states. Photo courtesy of Burris Optics.
The downside is that it might be more difficult to tell what you’re ranging; it can be more difficult to see obstructions between you and the animal, such as grass or saplings. Rain and fog can also be detrimental to seeing through the optic’s glass. And, it could be more challenging to decipher the details of your target when aiming toward the sun.
Trophy Ridge’s digital yardage readout is ideal for low-light conditions when referencing a yardage tape becomes challenging. The downside to this, and the range-finding sights, is that you’re trusting your hard-earned shot to electronics, which can fail. Still, most of these sights have been proven for years in the field, and they’re great options for many archers.
PINS, PEEPS, AND MOUNTS
If your bow has a newer mounting system like a Picatinny rail or pass-through riser dovetail, then buy a compatible sight. The sight connects directly to the riser, which is a more rigid connection. Further, it negates the need for a conventional mounting bracket, thus reducing mass weight. Also, positioning the sight toward the lateral center of the riser improves the bow’s accessorized balance.
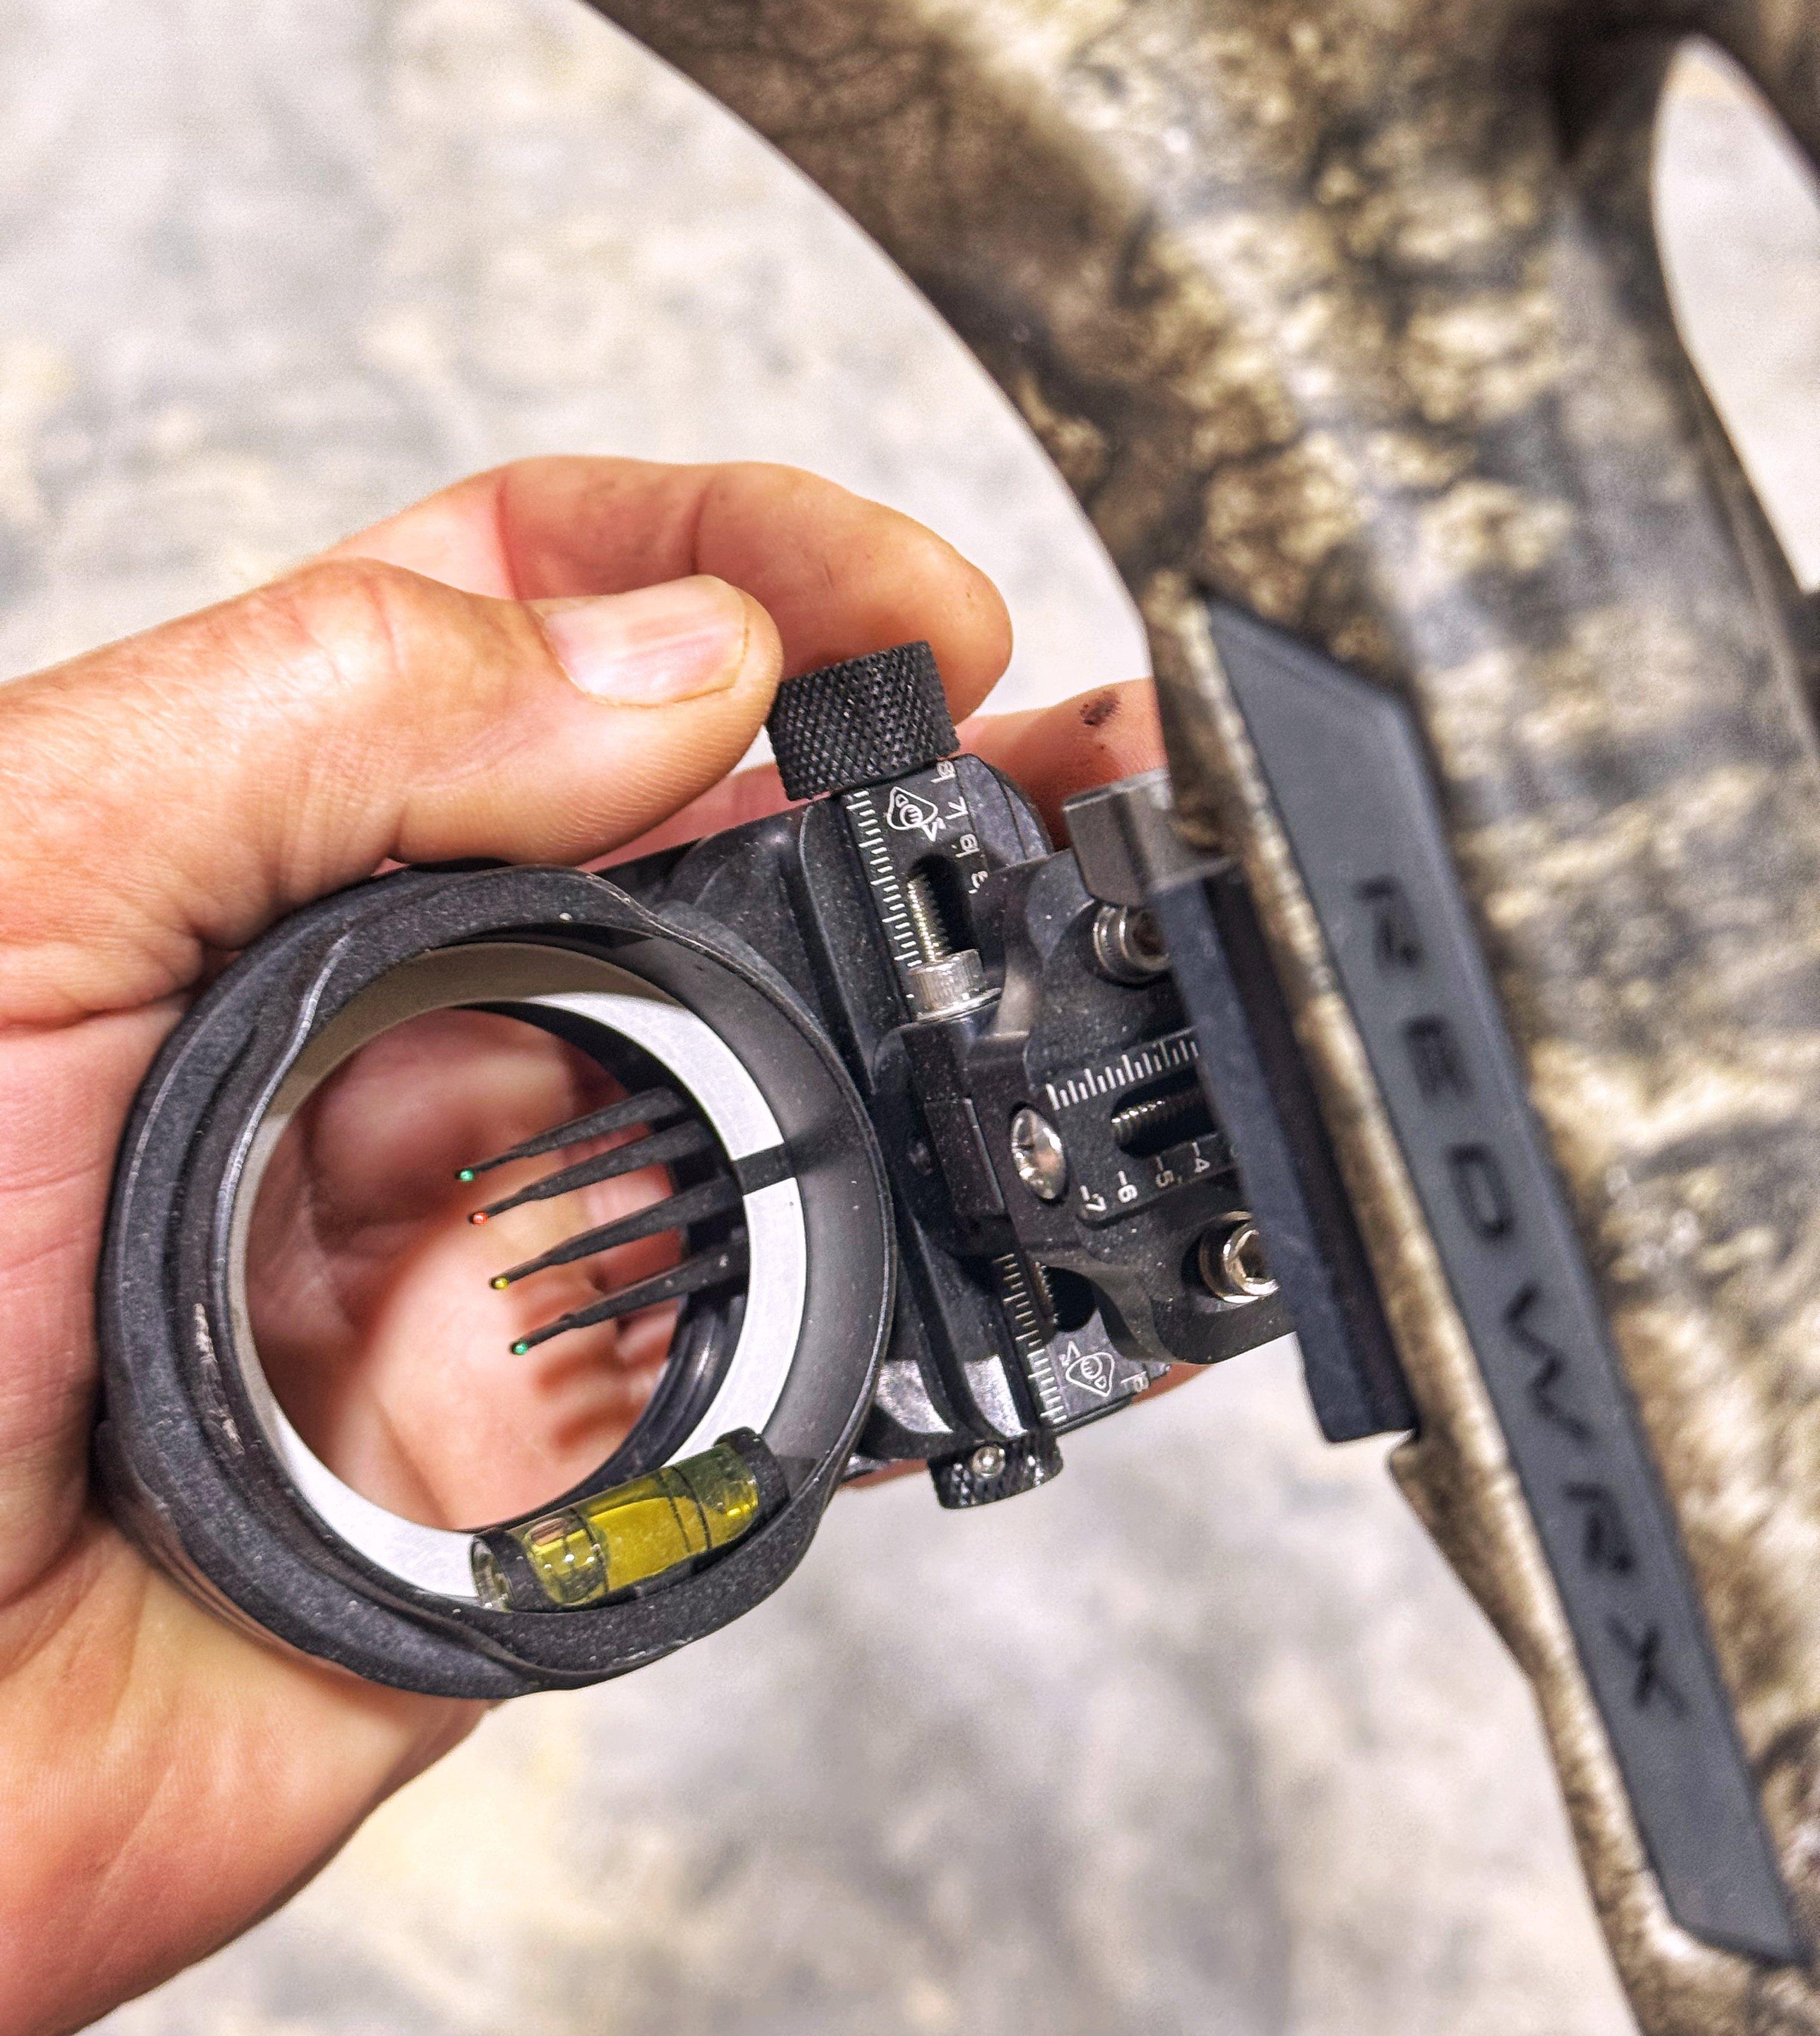
Now, onto peep sights. Many hunters prefer the light transmission of a huge peep sight, but the downfall is when the peep objective view is larger than your pin housing. A 3/16-inch peep diameter is a great starting point. If your sight bar is adjustable in and out, you should be able to adjust it until the sight housing’s ring perfectly fits in the peep at full draw. If your sight is not adjustable in and out, you’ll probably want to visit your local archery pro shop and try a few different peep diameters until you find one that fits your scope ring.
Check Out Our Latest Camo Pattern: Realtree APX
Illuminated fiber-optic pins make low-light shooting scenarios easier, but you’ll want to make sure the light has adjustable brightness. Too much light can create a glow that you cannot see beyond, making aiming virtually impossible. Also, sight lights aren’t legal everywhere, so check the regulations.
Speaking of fiber-optic pins, size matters. For shooting out to longer distances, larger pins that are .029 of an inch or even .019 of an inch can cover too much of the animal, making it difficult to aim precisely. I typically suggest .010 pins to anyone shooting out to and beyond 60 yards. If you have poor vision, though, or are mostly hunting whitetails in the timber, larger pins are easier to see.
Many shot opportunities unfold in the opening or waning moments of legal shooting light. Being able to see your pins clearly in low lighting is critical. Photo by John Hafner.
Let’s quickly talk about first-, second-, and third-axis adjustments. The first-axis adjustment tilts the sight mount laterally so that your slide feature moves straight up or down and not at an angle, preventing unwanted left or right misses at longer ranges. The second-axis adjustment levels the pins laterally, although some sights have it where the bubble level is adjustable, but not the entire housing. The third-axis adjustment can be thought of as a hinged door. It swings the scope housing toward or away from you.
Not all sights have these adjustments. But if you shoot on uneven terrain or from steep inclined and declined angles, they are musts. Leveling all three of these can substantially improve your accuracy, especially at longer ranges and when attempting technical shots.
FINAL POINTS
Choose a bow sight that is durable. Bowhunting can take you into unknown places and dish out relentless challenges, so you need a sight that can weather the bumps, knocks, and blows.
Weigh out the information and ins and outs we’ve discussed here. Then, you can choose the best bow sight for your individual needs and hunting style.